Voting
Showing posts with label DIY. Show all posts

Monday, May 14, 2012

B... Brimfield. Take 1!

So, I have been MIA....again!  Well, what can I say.  I return with Brimfield news though.  Not only did I hit Brimfield last week, I hit it twice.  I was there Tuesday, opening day, in the rain.  I then returned on Saturday for the 2nd to last day for the good deals and it was perfect sunshine.

I am going to do a full debrief on all my purchases later this week, but I thought I would give you a little teaser today.  I bought this adorable school desk that I am currently hiding from the husband.  I have absolutely no need for a small kids desk as I already have a few.


It was the drawer under the chair that got me.  How freaking cute!?  I had not plans on buying this, especially given the $50 price tag.  But, when the dealer told me I could have it for $30 (without me even asking)... I could not say no.  $30... total steal.

I think I am going to paint it with white Annie Sloan chalk paint and put it in our family room as a little craft spot for the wee one or perhaps in our new (almost finished) playroom.

Wanna know what else I got?  You have to check back later this week for the other goods!   Until next time...xoxo

Wednesday, March 14, 2012

P...Pinning!

Okay, I am obsessed with Pinterest.  I have it on my phone and find myself pinning a lot!  I have a board that is all DIY Craft Projects.  I have so many projects I am dying to do, but no time to actually do them.  How did I ever survive without Pinterest eye candy in the past?

Here are some things on my "to do" list!


So many craft project ideas....so little time! :(  Happy Pinning.  Until next time....  xoxo

Thursday, January 19, 2012

D... Dollhouse!

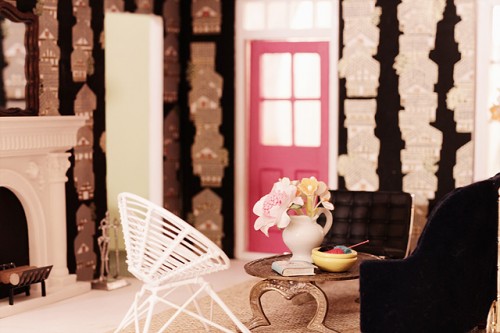
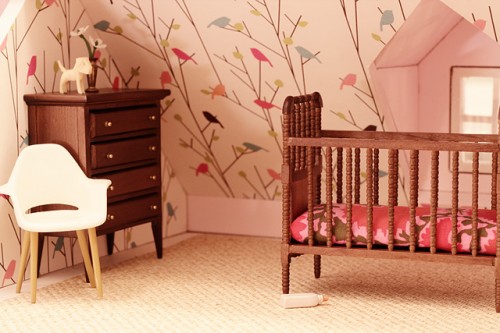
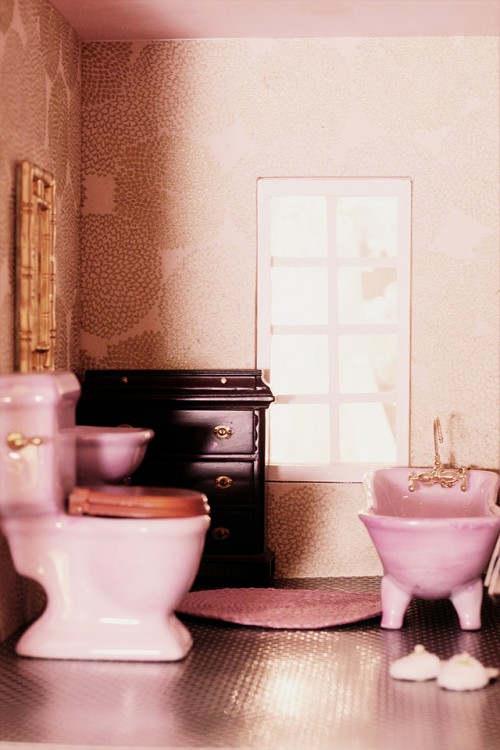
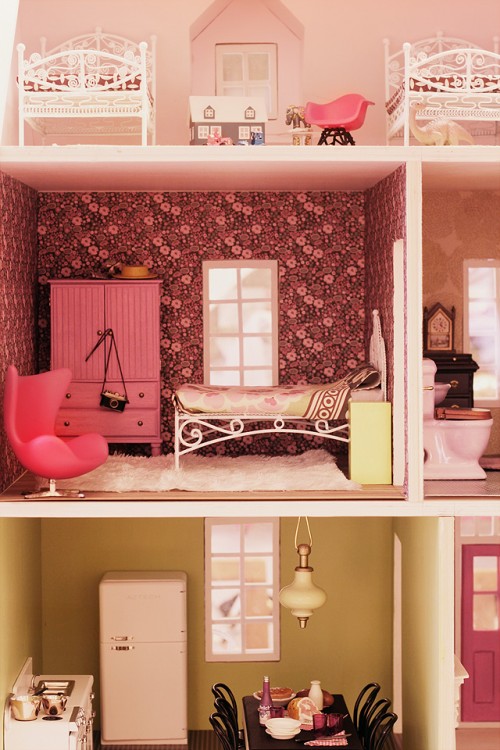
Yes, I want a dollhouse.  It will be a few years before Avery can appreciate and truly enjoy a dollhouse, ut I want one.  I was recently perusing Making It Lovely and fell in love with the dollhouse she made.  It is truly AMAZING!  I feel like to make an awesome dollhouse I need to start collecting furniture and ideas now... it could take years.

Check out Nicole's really really cool dollhouse!


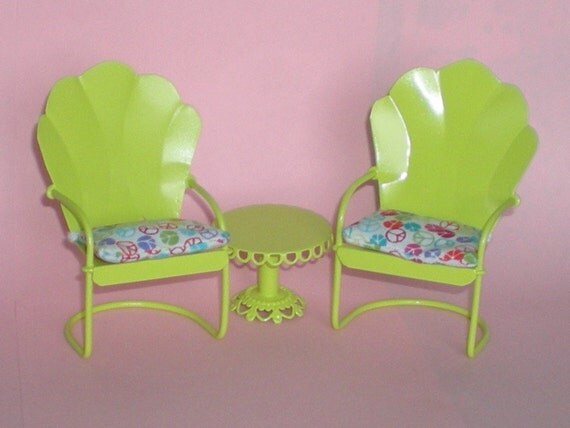
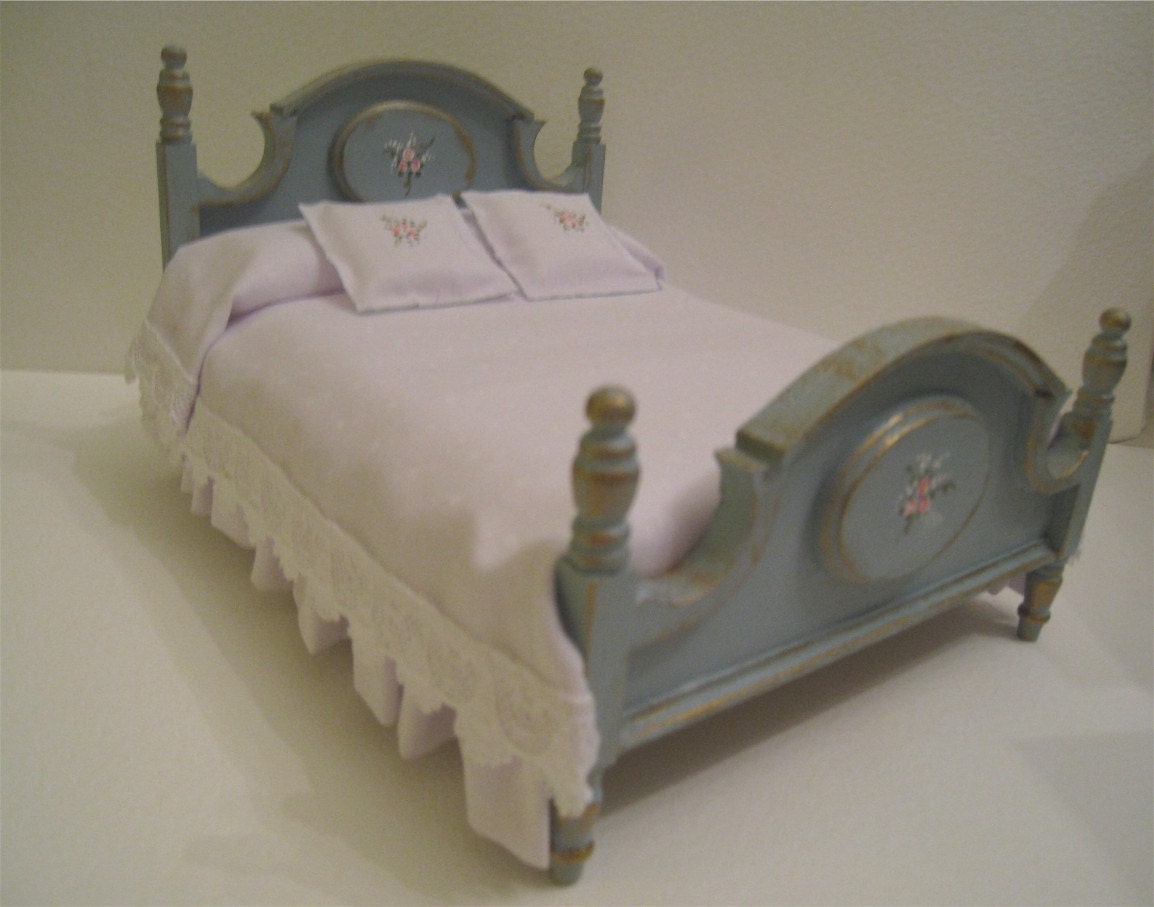
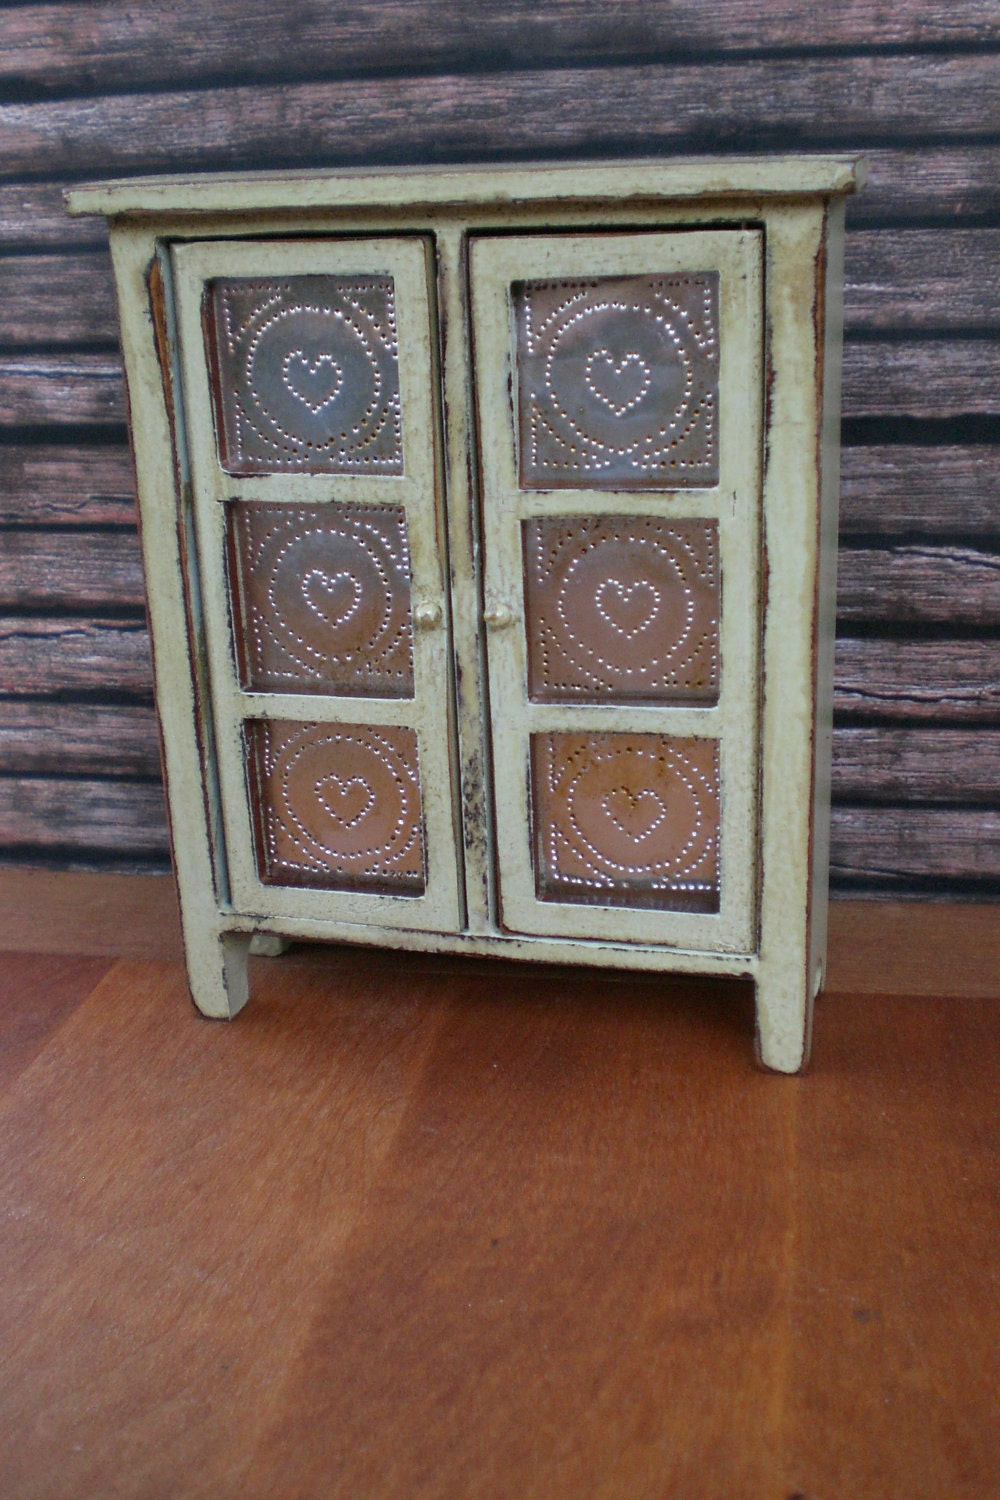
Um, did I say AMAZING?   Right!  Check out the rest of her photos on her blog Making It Lovely.  Perusing Etsy I found some cute furniture options!


It is an opportunity to decorate a whole house all over again!  Ahh.. maybe some day.  Until next time...xoxo


Friday, November 4, 2011

D.I.Y......Idea!

Okay, have I mentioned how obsessed with Pinterest I am?  I love it.  As was flipping through Pinterest last night and came across this really cute idea.  I am saving his in my "file" for when we have a future finished playroom for Avery!

This is the easiest DIT project ever.  Spray paint some cookie sheets in fun color and "BAM" you have yourself a colorful magnet board!


That is my idea of the day!  If any of you do it- send me photos! :)  Have a great weekend.  Until next time...xoxo

Thursday, September 1, 2011

P..Pouf! You can DIY!

Did you see my post last week for Poufs?  Well, if you want to learn to make your own......check out Better Homes and Gardens!  I think a sewing machine is going to be on my Christmas List for this year.  I clearly NEED to learn to sew!

Get inspired here and then make your own pouf!  Until next time...xoxo

PS:  Have you been voting for me?  Please do!  My blog is a finalist in Boston's Most Valuable Blogger!  You can vote daily (only one time per day) from now until September 9th.  You can vote for me by clicking HERE or clicking below!  Thanks in advance.

Friday, June 17, 2011

S is for Stairs!

Perusing Pinterest.... I found a REALLY cool do-it-yourself idea.  Maybe I will do this on our basement stairs when we get around to finishing the playroom down there! :)

Painting or wallpapering stair risers... why didn't I think of that?


So many ideas.... so little time.  A baby does make it quite a challenge to complete any sort of project.  Someday!   Have a great weekend.  Until next time....xoxo

Friday, April 22, 2011

B is for bench! Outdoors!

Okay, we have been working on something at home!  It involves our backyard and I am SUPER excited about it!  Drum roll please..............................

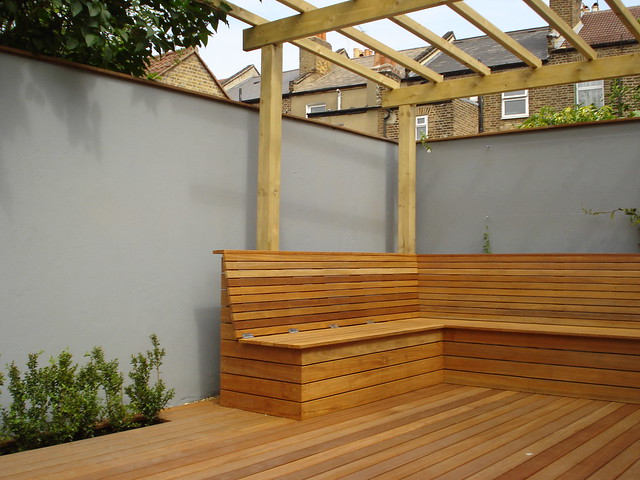
We built outdoor benches!  They are a work in progress still, but they are looking great.  The husband and his dad really stepped up the game on this project.   The Dad-in-Law was critical in the planning and execution phase!  A BIG thanks to him.


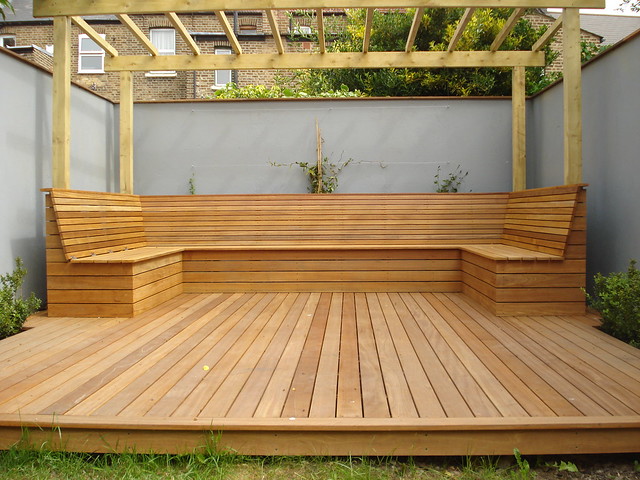
We started from a "inspiration photo" which the husband found on Flickr via a google search!


My husband really wants to do an arbor too (like this photo has too), but I really feel like our yard is too small for an arbor.  But, back to the benches.  We are using pressure treated wood that we will eventually stain black or some other color.    We added to small tables at the end of each bench and one tall table (where I want to put potted herbs) in the corner.  We have plans for the third "wall" which I will debut at a later date!

Here are some in progress photos!  Did I mention that I am excited?


 I cannot wait to finish these up and have a big reveal.   Once stained... I want to throw a cute "outdoor pillow" or two on them and have some friends over.   I love these benches for the entertaining options they will offer, not to mention the general ambiance!  Stay tuned.  Until next time...xoxo

Wednesday, April 13, 2011

M+J.... Mason Jars!

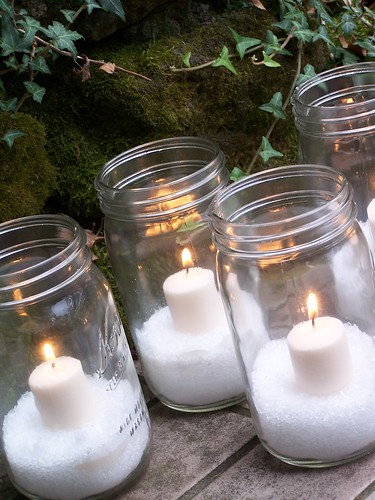
So, I love a good DIY project that is cheap!  Mason Jars (or any jars) are green (reuse or recycle).  Options are endless for what you can do with a good mason jars!  Of course as I mentioned Monday.. I have outdoors on the mind!

Check out some lovely uses of mason jars!
Image from HGTV
Photo from Sunset
Photo via Chez Beeper Bebe
Image from Crafy Nest

Image from Treasure Again on Etsy
Photo from The Inspired Room


You can get mason jars at any craft store for only a few bucks.  Options for what you can do with them are endless!  Until next time...xoxo


Friday, November 26, 2010

E & P... Entry and Pantry! Part TWO.

So, yesterday I shared a teaser on our most recent DIY project.  It is a makeover of our entry way which includes updating/gutting our pantry.  My goal was to have a better space to store our food, snacks, etc, also to have storage for shoes, mittens, coats etc. and make our entry more attractive and useful.

It took a few weeks to get this project finished, but here are the after photos! 

New shelves (organized by category), access to recycling and dog food (bottom).
I still need to paint inside of the pantry door and have hopes of putting rack or magnet plate for spices.


Benches complete!  We cut down the pantry door to fit new space.
Eventually I want to get a new doorknob and add some molding to the door to make it nicer looking.  I also have hopes of adding some more hooks for coats and spacing them out a bit. 


What do you think?  I love it.  There are a few additional updates that I might add down the line, but done for now!  It is great to look at something attractive when you come in the door rather than a messy pile of stuff.  The added plus is that I have a beautiful pantry that is well organized and I can find stuff.  Until next time...xoxo

PS:  Check out the DIY Show Off!  I entered my bench there!!!

Wednesday, November 24, 2010

E & P... Entry and Pantry! Part ONE.

Okay, so I have complained many many times on this blog about my entry way (and lack of storage) and my very bad pantry!  We have no place for shoes, mittens which always annoyed me as it typically resulted in a pile of stuff on the floor when you first walk in our house side door.  The pantry is on the right when you first walk in and it was also a HUGE disaster.  The shelves were very short (8 inches in depth) and nothing really fit on them.  Also, they were rounded on the front, so when you try to find something on the shelf things always fell off the front.  It was a nightmare!

I had a vision.... it took me a while to get the husband on board.  I finally said he did not have to buy me a Christmas gift if he re-did the pantry.  That is how bad I wanted it.  He got the idea!  What did I want to do?  I wanted to gut the inside of the pantry, paint it, and put in deeper shelves with better organization.   This was a combined project (entryway and pantry) as I also wanted to add a bench (which would effect pantry door) with storage for shoes, mittens, hats, etc.

I will give a full unveiling on Friday.  But, we took off the pantry door (well the husband did) and painted the gross interior of the pantry bright white.  We got rid of the 8 inch shelves and replaced them with 14 inch shelves... 6 more inches made a BIG difference!  I bought some storage devices (3 lazy susan turntables, some bins and a spice shelf).    The husband then built a corner bench (with storage baskets) custom to the entry way space.

Here are some before and in progress photos!  

Pantry before makeover.
Everything just stuffed in there and teetering on the edge!  
The inside was gross- yellowed over time and dusty!

I put all the food on dining room table and sorted it
by category (canned goods, pasta, rice, snacks, baking goods, etc)  

In progress!  Pantry is painted and
you can see the entry way space that is dying for something!   Benches!
(I should have taken photo before I cleaned up pile of shoes and what not.)


Friday I will debut the after photos.  Let's just say... I am SUPER happy with the results.  The husband has impressed me once again!  Until next time....xoxo

Monday, November 15, 2010

M... is for mudroom!

Apologies for the technical difficulty on Friday.  I was out and about and did not realize that my post did not publish.  So, here it is!

One thing I have struggled with is the fact that we don't have a mudroom/entryway!  I have posted about entryways in the past here.  You do have to give up some things when you live in an old house with a lot of character and mudrooms seems to be one of those things.   I would kill for a proper place for coats, shoes, storage etc.  Creativity (which luckily I have lots of)  and a handy husband (check) can help solve problems.  So, consider this a teaser.  The husband and I have been working on our entry landing and some storage solutions!  Stay tuned!!!

In the meantime, I thought I would share the photo below which shows anything is possible! :)  This is not the route we have taken, but I have to applaud the unique idea.

Is this clever or what?
(I cannot remember where I saved this photo from.)


Hopefully in the next few weeks I can share an update of our "entry way".  Stay tuned!  Until next time...xoxo

Wednesday, August 25, 2010

C is for Cake.... a cake pan is wall decor!

Okay, I love highlighting creative and cheap wall decor ideas.  Check out here to see some the past posts which included trays, mirrors, ceiling medallions, embroidery hoops and more!

I thought this was a SUPER clever idea... cake pans!    In truth anything in a collection makes cool and cohesive wall decor.  I could only find one photo of this idea..... so use this as your inspiration if you want to do this in your own kitchen.


Photo from Elle Decor


Until next time....xoxo
Thursday, August 19, 2010

C is for Craiglist!

Since I have not done this in a while, I thought I would peruse Craigslist and share some "Craigslist Finds".  Yes, buying on Craiglist can take time, energy and patience.... but it can be so worth it!  I have shared my Craiglist Farm table with you, best $200 I ever spent!

Check out these cute and cheap finds from Boston's Craigslist! 
 
This farm table is amazing and needs only a little TLC.  $235

Love this School House Desk!  Perfect for kids room or nook somewhere.  
Paint it or leave it as is.   Bargain price is $75. 

Gotta have some vision here, but this could be AMAZING!!!  Since it is flat top it is a perfect bench of coffee table or at foot of bed.  Clean it up and paint it!  Great storage.  Too good to pass up at $50. 


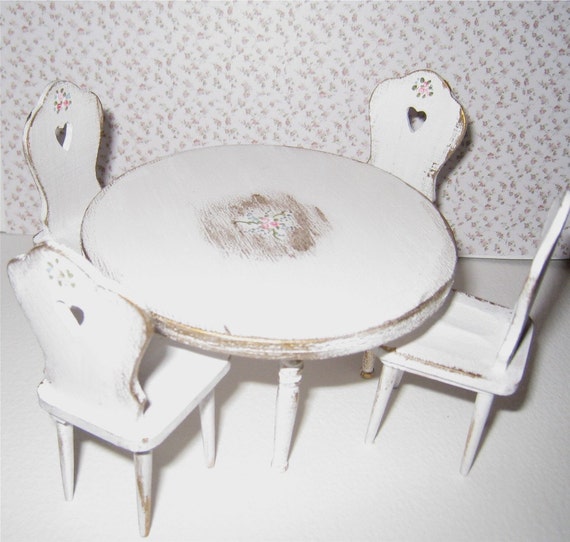
This is a cute set for $125.  Perfect for kids room or country cottage.  
Spray paint it white or some other "beachy" color.


Just a small sampling of the "finds" you can get at your local Craigs List!  Until next time....xoxo